| Home > Robots > Half Life > Voltage Converter | |
| Voltage Converter | |

Increasing LEGO battery voltage
For our event it was desirable to run our motors at 18 volts to get four times the power out of them. Since the fundamental rule was that LEGO pieces were not to be modified in any way, cutting and resoldering battery wires was out of the question.
So after two and a half hours of fiddling around I figured out how to make a voltage converter module. It has two inputs and one output, which is the series-connection of the two inputs. You can use it to create 18 volts from two 9v battery packs.
I'm sure there is a better (read: more clever) way to do this. So thanks in advance for cutting me some slack.
And hey, standard disclaimers apply: build and test this at your own risk. The LEGO components weren't engineered for increased voltage, and therefore current, so if you smoke your setup I am NOT liable.
 |
First start with a 2x8 power conducting plate. It forms the bottom base of the converter; the next sequence of steps builds on top of this. |  |
 |
Add a 2x4 conductive plate at a right angle, a 2x3 non-conductive plate and a 1x2 small conductive plate. | 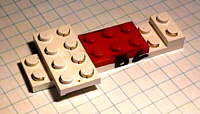 |
 |
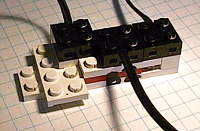
One more 2x4 conductive plate and two more 1x2 conductive plates. | 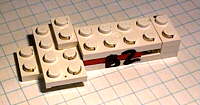 |
 |
Now cleverly attach the three power leads: B1 goes to battery pack #1, B2 to pack #2 and Out goes to the motor or switch. Out = B1 + B2, voltage-wise. The squiggly lines indicate the natural exit point of the wire from the block which is very important. And that's it! |
 |
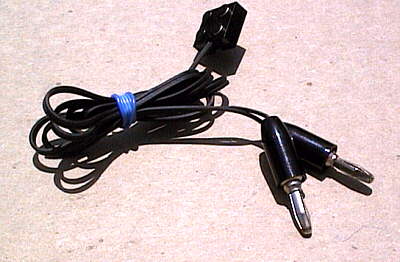 |
Debugging hint: sacrifice one of your power connectors to make a convenient adapter to your voltmeter. It only costs a few bannana plugs and the benefit is enormous. Check it out! | |
Like I said above, the LEGO motors aren't designed to be run at higher voltage. So only build and use this at your own risk! One final thought: the output of one voltage converter could be used as the B1 input on a second unit...